

I like to decorate for Christmas on the day after Thanksgiving...so I have been working on Christmas stockings this week to have them ready by Friday.
This ruffle stocking is mine and I can't wait to show you the ones I have planned for the Hubs and Little Miss:)
Materials:
1/2 yd of fabric for stocking/lining
(if your fabric has a pattern...you may need more than a 1/2 yd)
material for ruffles
fusible fleece
stocking template
(I used this one...and blew it up on my computer so the top measured 8")
1. Cut out four pieces of fabric, two for the outside of the stocking and two for the lining.
You want two facing each direction.
(This is the material for my daughter's stocking and that's my template in the middle)

2. Cut out strips for your ruffles that are double the width of the top of your stocking and double the width that you want the finished ruffle to be.

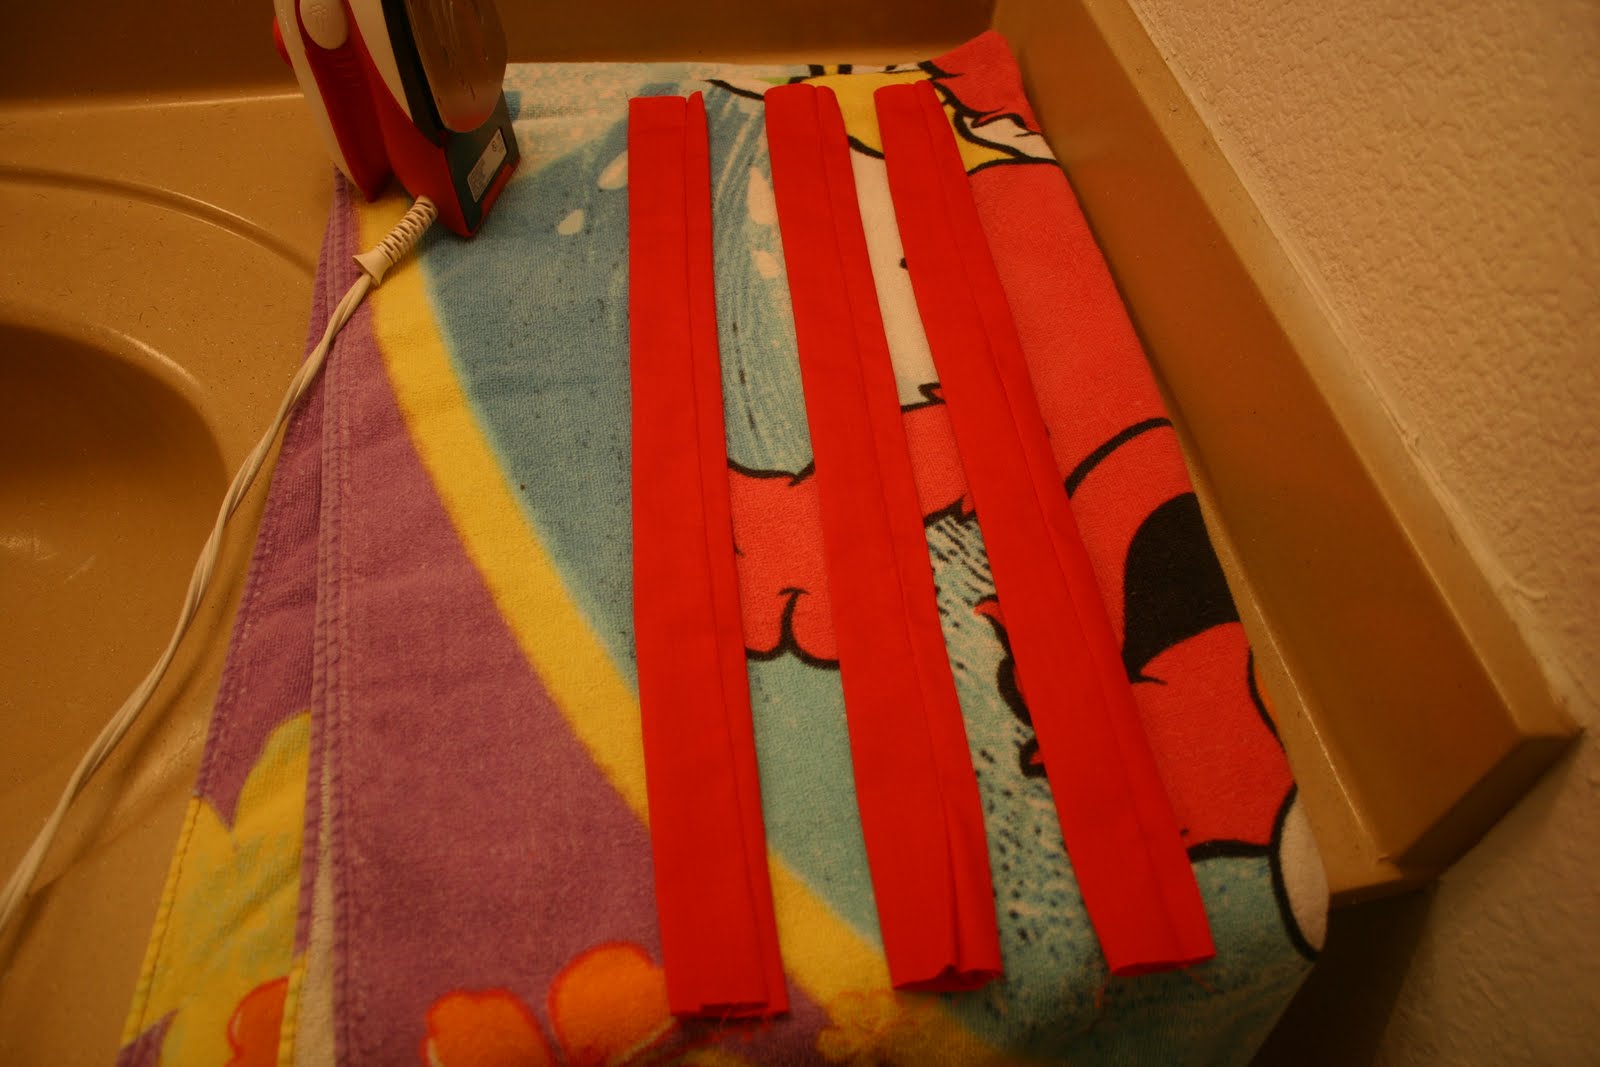
3. With right sides facing, fold your strip in half lengthwise and sew along the raw edges.

4. Flip the strips right side out and iron (with the seam a little off center).
5. Pin the edge of the strip where you want it to be on the front piece of your stocking and sew down the center of the strip, gathering as you go to create a ruffle.
Repeat with other strips.

6. Iron some fusible fleece to the wrong side of your front panel.

7. Place the back panel of your stocking right side down on top of the top ruffle panel, pin, and sew around the edge with a 1/4" seam. Leave the top open.

8. Flip it right side out.

9. Take the lining pieces of your stocking and with right sides facing, sew around the edge with a 1/4" seam.

10. Sew a little loop for your stocking. I took a strip of fabric, folded the long edges into the center and then folded the whole strip in half lengthwise again and sew along the long edge. Then fold the strip in half and sew edges together to make a loop.

11. Now take the lining of the stocking (still turned inside out) and place the outside of your stocking inside (still facing right side out) and pine the raw edges together at the top.
To sew the loop in, place it on the left side seam with the loop part facing down (raw edge aligned with the other raw edges) and pinned between the lining and outer piece.

12. Sew around the top of the stocking, leaving a opening to turn it right side out.
13. Flip right side out through the opening, tuck the lining inside, fold in the opening edges, and sew closed.

I really like it:) It turned out a little smaller than I wanted...but that just means my husband can fill it with jewelry right?:)
I ended up getting all the material and supplies for all three stockings for under $6! Can't beat that right?
Hopefully I will have time to finish another one to share tomorrow:)
I'm linked to:
I love it!!! So pretty! Happy Thanksgiving! :)
ReplyDeleteAloha Melissa,
ReplyDeleteI love your blog and all the wonderful projects!
I gave you a blog award!!! Please stop by my blog and pick it up!!!
www.dawnicakorner.blogspot.com
Mahalo,
Dawnica
Thanks for a great blog
ReplyDeleteChristmas Decoration ideas