
I saw this fabric at Walmart (yes Walmart!) yesterday and I loved it. I knew Shayne had an old tan onesie...so the wheels started turning:) I decided to make a tunic shirt out of it...so here are the steps...be patient as this is my first tutorial!
1. First decide the length that you want the shirt to be. I wanted her to be able to wear it with leggings or a skirt...so I made it on the shorter side. I got 1/4 yard cut so I am starting with a length of 9 inches. Make sure to add 1" to the final length you want for seam allowance.
2. Now decide how wide you want the shirt to be. I made mine 15 inches...so I cut mu fabric to 9" by 30" so that I could fold it in half and not have to sew a front and back piece together.
3. Fold the fabric piece in half with the ride sides of the fabric facing each other. Stitch up the short side. I did a zig zag stitch and then another straight stitch on the inside of that.
4. Stitch up the other short side of the fabric. This is so there looks like you have two seams on either side of the shirt. If it doesn't bother you to just have one seam on one side...then skip this step:)
You will now have what looks like an unfinished skirt for the bottom of you onesie.

4. Fold under the hem of the fabric 1/2", press with an iron, and fold another 1/2" and sew all around so you have a finished edge to your tunic bottom.

5. Now to get the ruffle in your tunic bottom, sew a straight basting stitch across the top (unfinished side) of your fabric. To do a basting stitch, set your sewing machine on a straight stitch on the largest (longest) stitch it can do. Leave long ends on your stitch and do NOT back stitch. You want to be able to pull on the thread.
To start the ruffle, pull gently on the bobbin thread in your stitch. It should pucker the fabric. Move the fabric slowly and keep pulling the bobbin thread until the whole piece is ruffled evenly all the way across. This make take a little time, just be patient and don't pull too hard or you will break the thread.
Keep pulling and ruffling until the fabric is the same width as your onesie.

6. Now that the bottom of the tunic is ready, cut the onesie where you want the skirt to start. I wanted the bottom of the tunic up high on the onesie, so I cut it two inches below the arms.

*Bottom right side of onesie pinned to unfinished ruffle side of fabric (fabric is still inside out)*

8. Sew along the ruffle stitch all around the skirt and onesie top.
9. Turn right side out and press. I then put a top stitch along the very bottom of the onesie about 1/8th of an inch up from the tunic bottom.
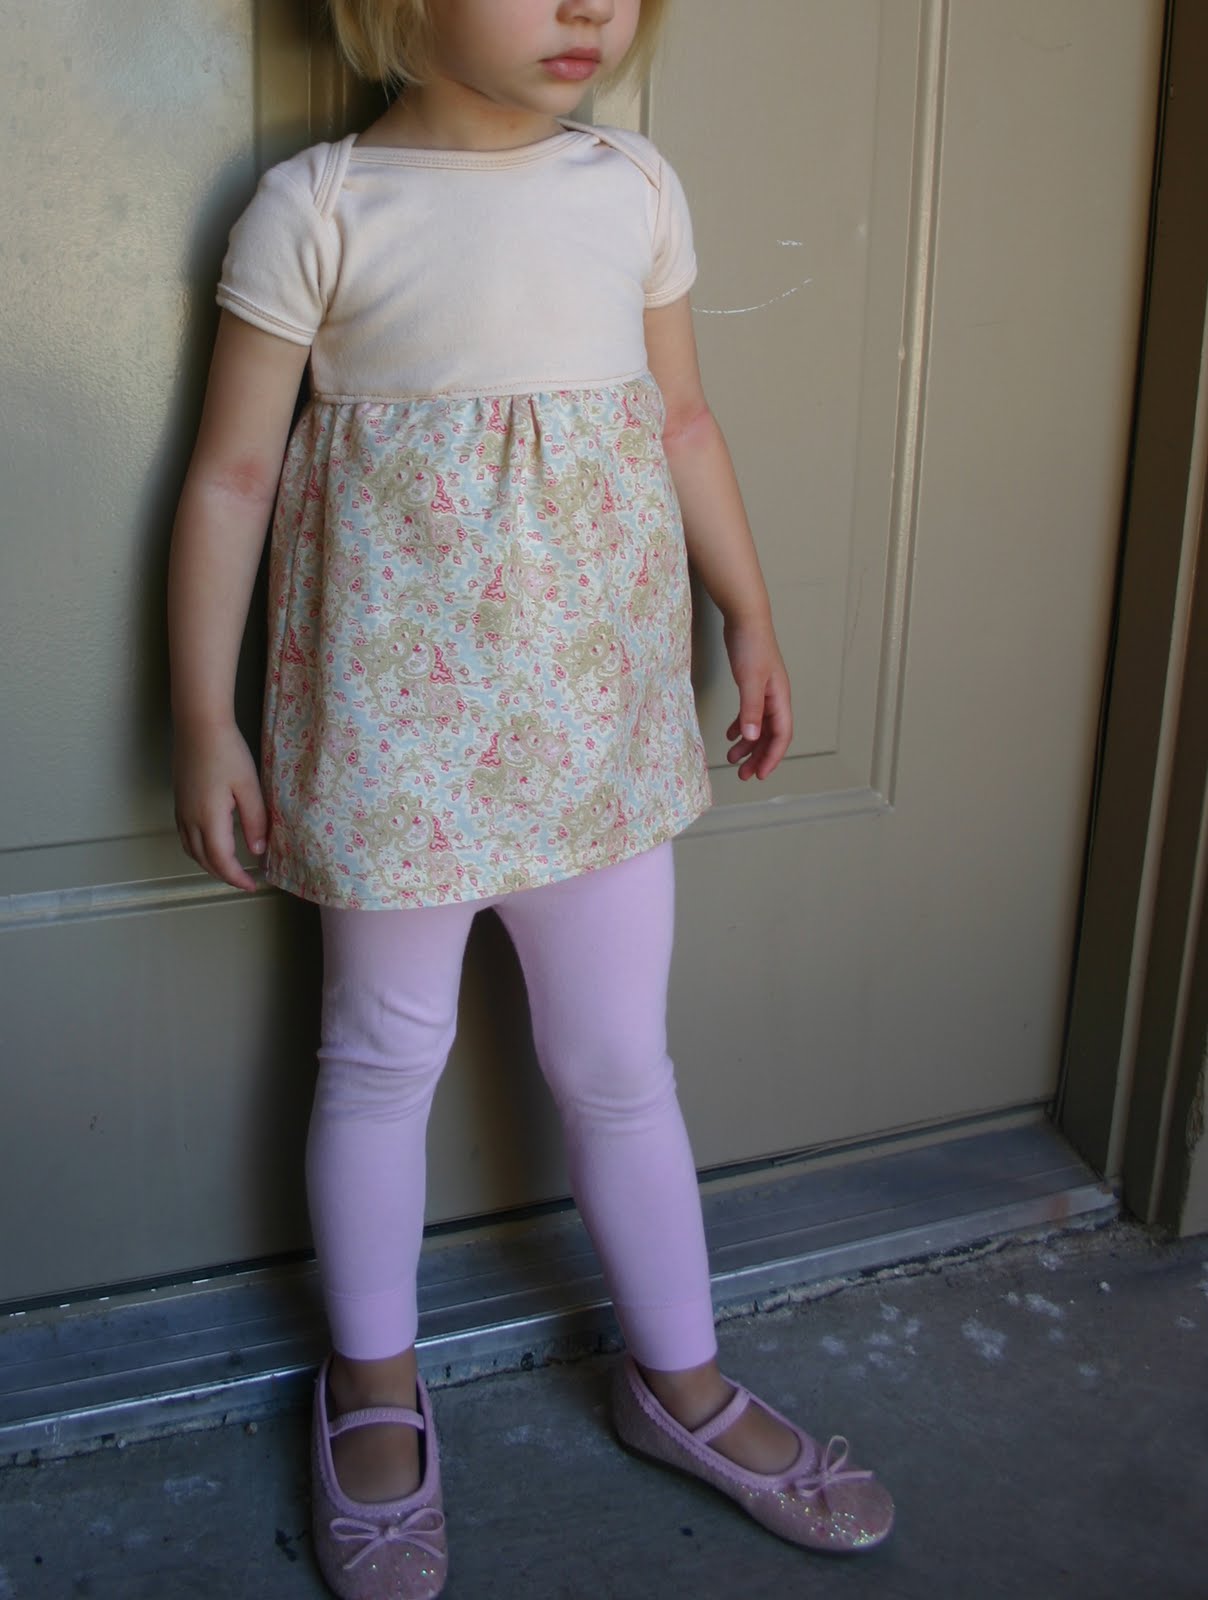
And there is your tunic shirt from a onesie!


I used some scraps of the fabric to make a matching hair clip:)

