Wednesday, July 17, 2013
DIY: Reversible Painted Throw Pillow
Friday, May 31, 2013
DIY: Painted Herringbone Memo Board
Wednesday, November 14, 2012
DIY: Painted Oven Mitts
Thursday, September 27, 2012
DIY: Painted Pumpkins
I'm linked to:
Tatertots and Jello
Tuesday, September 18, 2012
DIY: Beads and Bow Onesie
Tuesday, January 17, 2012
DIY Chevron Shoes
Monday, August 22, 2011
DIY Play Kitchen (from a nightstand)
I am finally getting around to posting the play kitchen my dad (and husband) and I made for my daughter! I am really ashamed at how long it has taken me to finish this. Oh well...it's done now, right?
I started with a nightstand that I got off craigslist for $5 and pulled the drawers out. Luckily there was a board between both drawers..so we didn't have to build one for the "oven" bottom. My dad took the front off one of the drawers and attached it to front of the nightstand with hinges at the bottom so it could swing down like an oven door.
The backing of the kitchen is just a large piece of wood with two smaller pieces nailed in through the back for shelves. My dad already had the wood in his scrap pile...but I also priced it at Home Depot for about $5.
Here is a view of the top. I used a wooden letter "J" from Joanns for the faucet and a round cake pan from the dollar store from the sink. I didn't want anything too deep, otherwise nothing would fit in the oven compartment. Also, here are the burners I showed earlier. The burner knobs were also made with pre cut round pieces of wood. I just layered them, glued them, and then cut pieces of a dowel to put down the center to make them look more like knobs. The faucet knobs were something I already had. All the knobs are attached through the bottom with a screw and a washer so that they can turn.
Remember these cups, saucers, and canisters? I love they way they look on the shelves:)
The nightstand had two drawers...so for the bottom part, we took the drawer out and I made a little curtain to go across it for storage. My daughter keeps her play food in there. I attached it on the sides with sticky velcro so that it can come off. I got the material while in California. I think it adds to the retro look of the kitchen.
Finally, on the inside of the "oven" we painted everything with silver paint:
I really love the way it turned out! My daughter loves playing with it too...so that makes me happy:) I am in the process of making her some more accessories to go with the kitchen for Christmas such as oven mitts and dish towels....but more on that later:)
Price:
nightstand: $5
spray paint (2 cans): $6.00
wood for burners and knobs: $3.50
letter "J" for faucet: $1.00
material for curtain: $1.50
cake pan for sink: $1.00
all other materials I already had
Total: $18.00
I'm linked to:
Tuesday, June 28, 2011
Bassinet Makeover
Oh come on...it's beautiful in it's own "why were lace and ribbons ever a trend?" way:)
I wanted to make my own cover for it, and I tried to use the existing one that was on there as a pattern...but it just didn't seem to give me the same look I wanted. So in the end...I just measured the bassinet and winged it!
I started by tracing the mattress to make the bottom part of my cover.
(And yes, you can be jealous of the awesome floral mattress that came with this gem)
I traced it with an extra 1" all the way around. I knew I could always take it in if I needed to...but if it was too tight...then the whole project would end badly.
Next, I placed the mattress and the new mattress piece I cut out into the bottom of the bassinet to see how it fit. I then measure from the top of the mattress to the top of the bassinet edge and half way around (I needed two pieces to make the inner edge).
When I am trying to recover something, I like to tape on the pieces I have made to make sure it looks like it will all come together when I sew it.
I cut out another piece for the inner edge and then measured the whole outer edge and made two pieces for that as well (my seams are on the two long ends of the bassinet). I decided I wanted the cover to come down on the outside about 6 inches.
Finally, I sewed it all together. I started by sewing together the two inner edge pieces at each end (right sides facing), creating a big circle or "bumper" for the bassinet. Next, I sewed the bottom piece to the inner edge (right sides facing). Now I had what looked like a fabric basket. Finally, I took the two outer pieces (also sewn together at each end with right sides facing) creating another large circle, and sewed that to the edge of the inner piece.
The outside of the bassinet was a little larger than the inside measurement, so that's why I have a little pucker in the middle of the front (and middle of the back) of my cover.
Also, just to make sure it fit securely, I folded under the outer edge that was still raw and sewed it all the way around with a 1" seam allowance, leaving a 2" opening. I then measured some elastic around the outside of the bassinet and strung it through my opening. I sewed the ends of the elastic together, fed it into the opening, and sewed the opening shut.
Here is the final product (after my husband also touched up the paint job). I made a little orange and black blanket to match too.
Also, if you want a little more padding than just the mattress, you could sew some batting to the wrong side of your bottom piece or iron some fusible felt onto it for a little more cushion.
I'm sorry there weren't many photos with this tutorial. I was sewing it late at night and trying to figure it out as I went along. It was actually one of the easiest projects I have done in a while. It only has a few pieces to it, but it's the measuring that takes a little time.
I love the fresh new look it has and I can't wait to bring home our little guy so he can try it out:)
Price:
bassinet: $15
fabric: $2.50
elastic: $.10
Total: $17.60
I'm linked to:
Tuesday, June 7, 2011
DIY Chevron Wall Art
I have been a busy crafter lately. I got all my the squares for my daughter's baby clothes quilt sewn together (pictures to come), finished some curtains for our dining room (using the same material as these curtains from a duvet), completed my first custom order, and also finished up some projects for my friend's upcoming baby shower! I'm on a roll and I don't want to stop because I'm afraid I may never tackle my "to do" list again:)
On my list was something for our dining room. I wanted something large...but neutral since my curtains are a bright color. It's no secret that I love chevron. I love everything about chevron and I would even drape myself in chevron if it were socially acceptable (Seinfeld lovers will get that). So, a large piece of chevron wall art seemed to fit our style and my budget of zero point zero zero dollars (Bronx Beat shout out).
I started by finding an image of a chevron pattern and enlarging it on my computer screen. Then I took plain white computer paper, held it up to the screen, and traced the pattern. To make my stencil more precise, I went over each line with a ruler and a black marker.
I painted a large piece of thin wood white with acrylic paint since I already had some.
Next, I cut out my stencil and traced it over my whole board with an ink pen. I recommend tracing your stencil with something light so that it's easier to paint in later.
Finally, I painted in ever other line with some gray acrylic paint that I had and I was done! I found a foam brush worked best to get really clean corners and lines.
The wood I used is less than 1/4 of an inch thick. It was a piece of scrap wood my dad had and it was chipped and splitting in certain places and I really liked the texture of the design over each crack and imperfection.
I also hung it on the wall by nailing picture frame hooks on the back.
Also, you may have noticed that my red chairs are black again. Although I liked them red...I never thought to seal them and constantly wiping them down each day was starting to fade the paint (not the mention the movers scratched them up quite a bit). So, they are black again and I love them:) And a round of applause for my hubby for painting them for me without complaining one bit! I know he is counting down the months until I can paint my own projects again.
I'm linked to:
Friday, February 11, 2011
Wall Art for Under $5
I wanted some fun artwork above our dining room table, but since I have other plans for that space eventually...I didn't want to put too much money or effort into it:) Basically I was in the mood for an easy craft...ever feel like that after a lot of big projects?
So, I found these file dividers at Target in their $1 section:
I actually got 5 in the pack...but I saved the fifth one for something else. I cut the tab side and side with holes off with my paper cutter so that they were 9"x11".
I got out my box of acrylic paints and mixed colors together until I got a combination I liked and just painted random spots on each image. I liked leaving some black and white spaces so that they still fit in with our other decor.
Next, I got some 11x14 frames at the dollar store, painted them black with acrylic paint and then sealed them with Mod Podge. I tried to spray paint them...but they must have some oil on the frame or something because the spray wouldn't stick very well.
Finally I matted each picture using my posterboard trick and that was it! I like how much color they bring to the space and they match my red dining room chairs really well too.
They won't live in this space for too long...but they are a great place holder for now. I think they will look great going up the staircase someday too. I would like to get better frames for them someday as well...but until Target has theirs for 75% off...these dollar store ones are perfect:)
Price:
file folders: $1.00
3 picture frames: $3.00
posterboard: $.50
Total: $4.50
I'm linked to:
Monday, January 17, 2011
DIY Play Kitchen Part 1: Burners
While my dad is busy adding a large piece of wood to the back of the nightstand I have for my daughter's play kitchen (and making shelves for it)...I decided to get started on the pieces I needed to make.
I liked these burners of a KidKraft kitchen, so they were my inspiration:
I found thin 6" squares of wood at Joann's. I also found a bag of wood circles (21 pieces in different sizes).
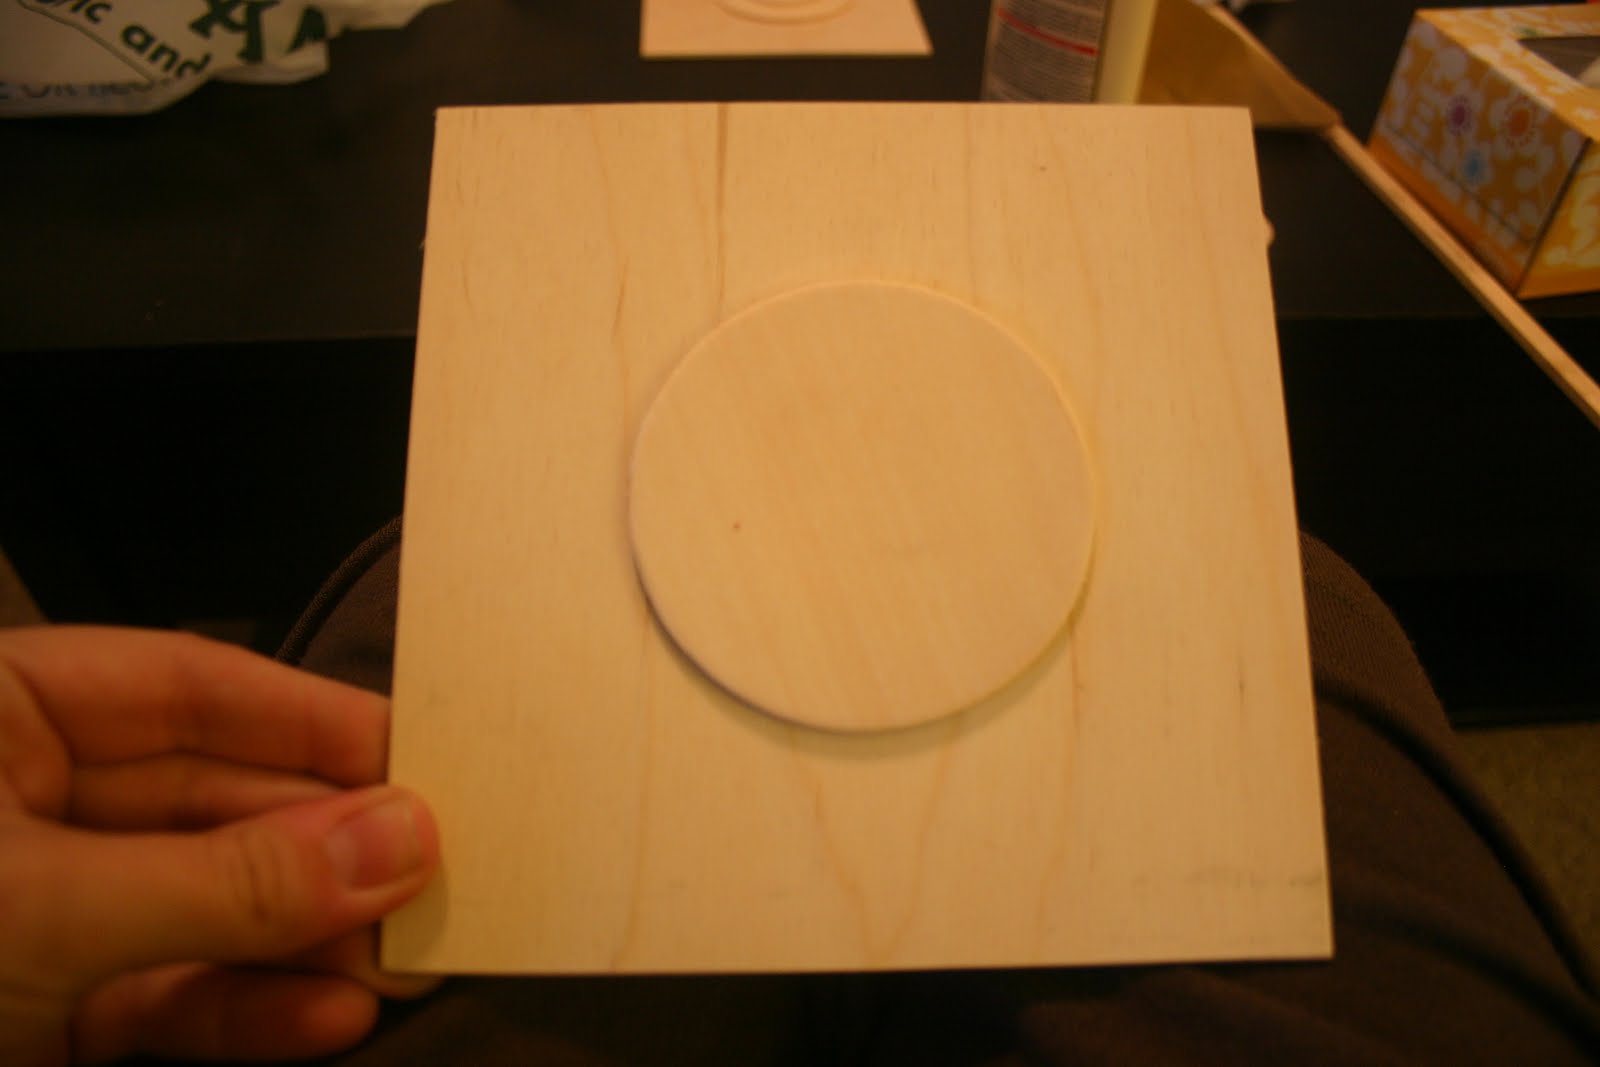
I sanded down the edges of all the pieces and glued (with wood glue) a larger circle in the middle of the square piece:
Then, I glued another smaller circle in the middle of that:
I used square dowels for the burner pieces. I cut them the size I wanted for the corners:
Then, I cut down the inner edge so that they would lay flat over the circle piece:
I cut them with an exacto knife.
I glued on all the corner pieces:
Then I repeated the same process with smaller dowel pieces for the other parts of the burner:
Finally, I painted it all chrome and then the burners were painted black. I didn't paint all the pieces beforehand because I wanted to make sure they glued together well while the wood was still bare.
I can't wait to show you the plans I have for the knobs and the sink! I hope to have it painted by this weekend...but with the packing and such...I'm not sure if that will happen.
Price:
Wood squares: $1.00 (with 50% off coupon)
Wood Circles: $1.50 (with 50% off coupon)
Dowels: $.100
Total: $3.50
Tuesday, November 2, 2010
DIY Chevron Pillows
I have expressed my eternal love for zebra print and damask...but now there is a close third....chevron. Does anyone else love this print?? I would love a huge rug in our living room...but maybe after I don't have a toddler?
So, the next best thing to a rug was throw pillows. I finally bought a huge roll of freezer paper for $5 a few weeks ago and I have been using it for so many things!
Wanna make your own chevron pillows? Then let's go!
Materials:
paint of choice (I chose black acrylic)
materials for pillows (I got 1 and 1/2yds for two pillows)
freezer paper
pillow forms or stuffing
matching thread
iron
1. Cut out a piece of fabric that is the height of your pillow plus 1" and double the length, plus 2".
Example: I wanted my finished pillows to be 17"x17"...so my rectangle was 18"x36". I also cut two because I was making two pillows.
2. Cut out a piece of freezer paper the size of your fabric rectangle:
3. Draw out your design on the freezer paper, cut out, and iron the shiny side down on your fabric.
(To get the chevron design, I found a chevron pattern through Google Images, blew it up on my computer monitor to the desired thickness, and then held up my freezer paper to the screen and traced it with a pen)
4. Paint your fabric.
Tip: You will get cleaner edges if you brush away from the paper...that way you don't pull it up and get paint underneath it.
5. Peel your freezer paper strips off:
So, when I started this project, I planned on having the chevron design on both sides of the pillow...but then realized how long it took to trace, cut, and iron my freezer paper. At this point I opted to just have the design on one side of the pillow.
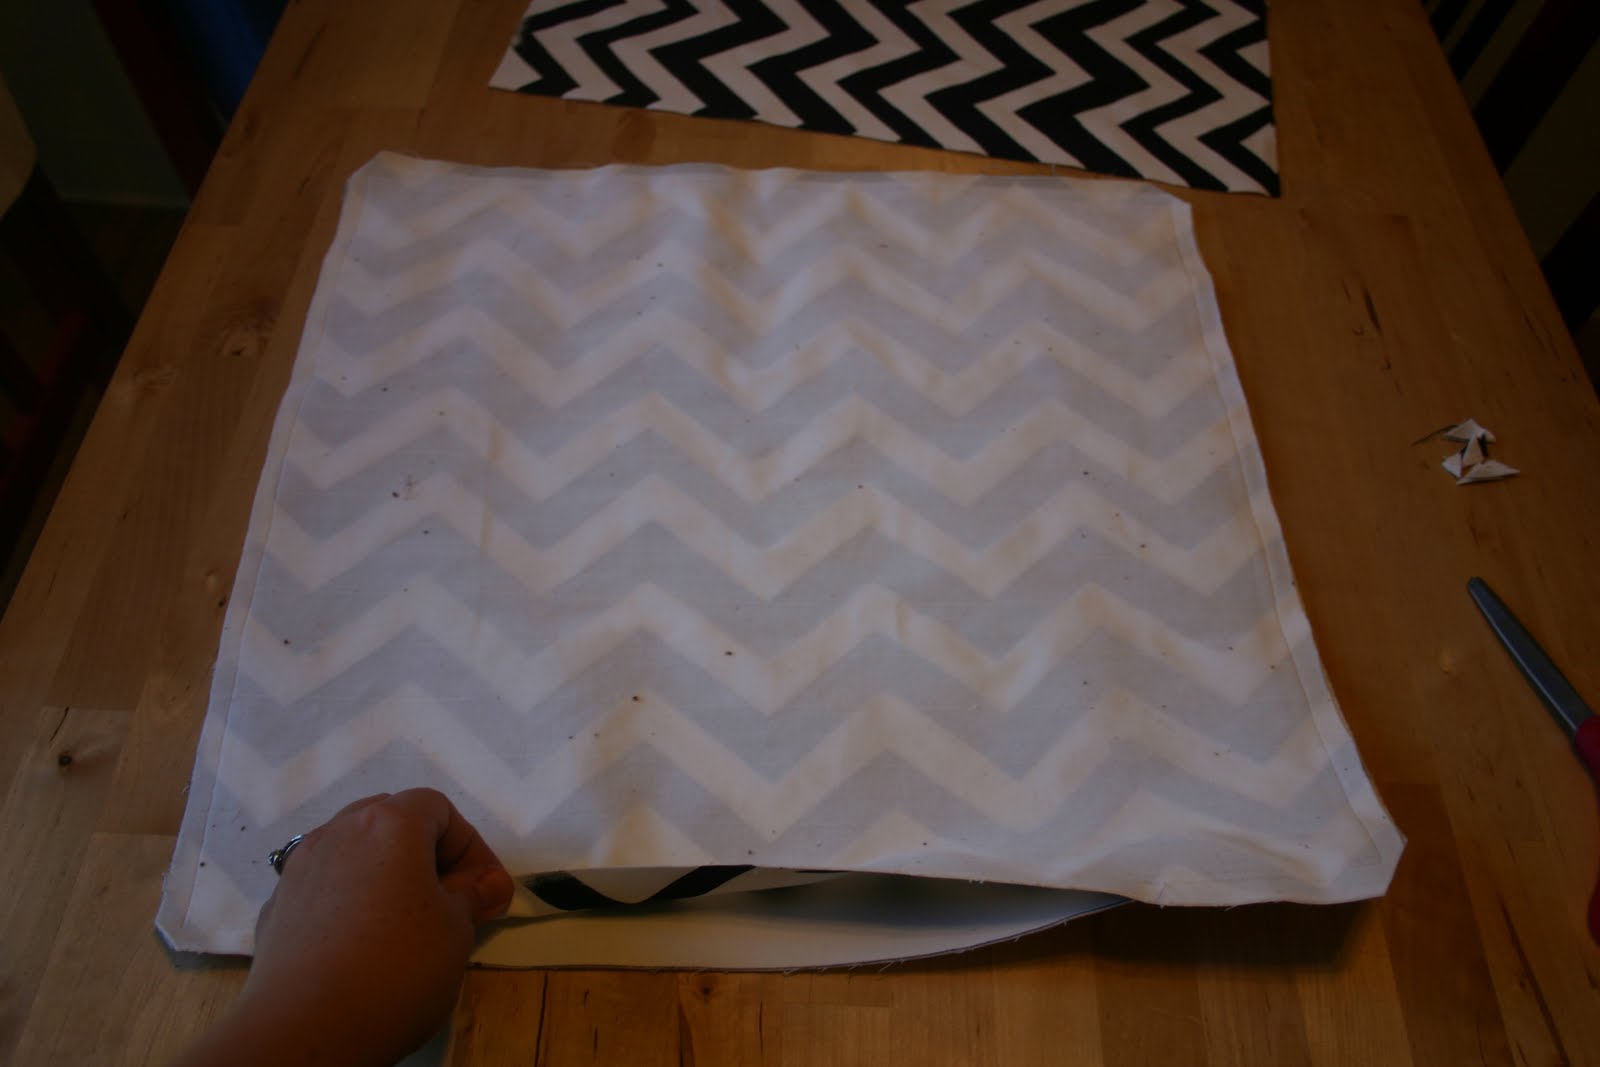
6. Cut your painted fabric piece in half (so you have your pillow panels) and do the same with your other fabric rectangle:
7. With right sides together, pin your edges and sew around the pillow with a straight stitch leaving an opening at the bottom to flip right side out and stuff. Clip the corners (not through the stitching).
8. Flip pillow cases right side out and stuff (I used two other pillows).
9. Fold inside bottom edges in and sew closed.
As my daughter would say, "Tada!".
It really didn't end up bothering me that the backs are blank. These are going on my bed and I can't even see the backs anyways...so it's not a big deal.
Also, I used acrylic paint because they are going in my bedroom which is normally a kid free zone (I know...mean Mommy!) but if I was putting them in the living room, then I would have used fabric paint so that I could wash the covers.
Price:
paint: $.50
material: $2.25
pillow stuffing: $3.00
Total: $5.75
I'm linked to: