Showing posts with label pillowcase challenge. Show all posts

Monday, January 2, 2012

Pillowcase Challenge #8: Diaper Bag


I haven't done a pillowcase challenge in a while! One of my goals this year is to clean out my craft closet and use up what I already have before buying more. I had been holding onto this pillowcase for a while, not sure what to do with it, but wanting to do something useful since I love the print so much. I decided to make a larger tote that could be used as a diaper bag since I seem to need lots o' stuff with me these days!

The outside of the bag is made with one pillowcase and the lining is part of an old vintage sheet I had. Want to make your own tote? Then let's go!

Thursday, September 30, 2010

Pillowcase Challenge #7: Easy Pillow Cover

I found this pillow sham at GoodWill this week (for 75 cents!) and instantly fell in love with it. At first, I thought I might just cover some art canvas with it and hang it as art...but then I decided to just make a pillow:)

First I put my pillow form into the sham so I could position it where I wanted it and measure where I needed to make my cuts.

Second, I cut my pillow sham to those dimensions that I noted earlier. To sew it together, I place the front panel right side up, and then both of the overlapping pieces right side down.

I pinned all the way around...and then sewed all the way around. No need to leave a space to turn it right side out...it already has an opening in the back. Yay!

Then I just flipped it right side out and put my pillow form in:)

I really like it so far...it's just that pillows don't seem to last long in our house. That's why I don't put much time into them anymore. I have learned the hard way that they get abused easily:)

So, do you like this pillowcase or does it look familiar? Well....that's because the bedding set is still on sale at Target! I saw it the day after I bought the sham:) Do you ever find things at the thrift store that are still full price at another store? I mean...do people really decided to donate their stuff that quickly? And I thought I changed my mind a lot!

Oh, and the hubs and I finally agreed on some bedding! Our bed has only been naked for...well I don't know how long! I change my mind basically on a minute-to-minute basis:)

So, we went with this bedding from Walmart. Just a simple brown. The big seller was how soft it is...it is pretty amazing! I really want white bedding...but with a husband who is around motorcycles all day and loves chocolate (he seriously got chocolate on the last white duvet I made) and a 2yr old that...well...always has something on her...white was not the best idea:)

If some of you share a "love, hate....but mostly hate" relationship with Walmart...read on:

I went to one Walmart for the bedding and they had the color I wanted...but not the size. So I asked three (yes three!) different workers how I could track down the color and size I wanted...to which they all just said, "I need the UPC"...um...I don't work for Walmart...so how would I have that??

Finally the third worker said that they didn't made the brown set in a queen size. I just stared at her for a minute....then I said, "Uh...what?" to which she proceeded to tell me that they made the brown in all colors except queen size. Uh...yeah...I'm pretty sure nothing about that sounded right. But she was quite secure in her statement...so I just walked away...almost starting to believe her. I mean it did sound like something Walmart would do!

Then I got home to my friend, the Internet, and found my size and color in a round about way on Google...and found my size and color at another Walmart.

So...I guess I have to be a little happy with Walmart because I like the bedding...but how badly did I want to go into the first store, with the bedding, find that worker, and say, "You mean Walmart didn't make this bedding??" I know...mature:)

Oh...and my husband's favorite part is that the bedding doesn't match our bedroom furniture (which actually doesn't really match either)...so when we move I am finally getting some matching bedroom furniture! Woot-woot! I can finally walk in my room feeling like a grown-up:)

Thursday, September 23, 2010

Pillowcase Challenge #6: Bible Cover

I found this cute pillowcase a while back and I even paid a whole dollar for it! I know..what a splurge:)

I went back and forth about what to do with it. At first I was going to make an apron and oven mitt set for the Little Miss...but I decided I wanted to be selfish and make something for myself:) I started a new Bible study for moms at our church...so I decided my bible could use a cute cover:) This could also work for any other book you want to dress up. I so would have done this with all my textbooks in college if I knew how to sew back then! Ha!

Materials:

pillowcase (or about 2/3yd of fabric...depending on the size of your book)

matching thread

iron

1. Iron your fabric and lay your book out on top of it.

2. Cut 3/4" around the whole book. You want 4 of these pieces all together. My pillowcase was still assembled, so I was able to cut two pieces at a time.

3. Now you should have 4 rectangles of the same size. And yes...that is my unmade bed in the picture:)

3. Cut one of the rectangles in half down the middle of the longest side.

4. Take one of your half pieces and fold in one longer side 1/2" and iron, then fold the same side over another 1/2", iron, and sew with a straight stitch.

5. Repeat with the other half piece.

6. Now to make a pocket for the backside of the cover. Cut another one of your rectangles in half the same way as before. Fold over the long side 1/2", iron, then fold over another 1", iron, and sew with a straight stitch.

7. Fold in the other long side 1/4" and iron.

8. Place this piece on the right side of one of your rectangles. Position it about 1" in from the outside with the larger fold facing the outside and your shorter fold on the inside. Sew down the side with the small fold with a straight stitch.

9. Now for the straps. Cut out strips that are as long as you want your straps, plus 1" and double the width you want plus 1/4". I cut my strips out of the side of the pillowcase so I have seams running down the middle of my pieces.

10. Fold your strips in half lengthwise and sew up one side with a 1/4" seam.

11. Flip right side out, iron flat, and top stitch each side of the strap with a 1/8" seam.

12. Now we are going to put it all together. Lay your last plain rectangle down, right side up. Place both of the half rectangles you hemmed earlier right side up on top. Line up the raw edges along the outer edge so that the hemmed sides are facing in towards each other.

13. Now place the straps on top, folded in half, with the raw edges lined up on the outside. Make sure they are even on both sides.

14. Finally, place your rectangle with the pocket piece on top of everything right side down. Pin all the way around. Sew around the whole outside with a 1/2" seam and remember to leave a hole so you can flip it right side out.

15. Flip the cover right side out, iron (make sure your fold in your hole) and then top stitch around the whole outside with a 1/4" seam.

Put your book in. I liked how snug of a fit it is.

Here is the back of the cover with my pocket for papers, pens, or my daughter's childcare receipt which I always manage to lose when it's time to pick her up!

The front of the cover still looked a little boring...so it needed something. So I made some rosettes out of some old shimmery organza, white cotton, and pink jersey knit (that was actually a pillowcase too!)

Then I just hot glued them onto the front.

Total Price: $1.00

Friday, September 3, 2010

Pillowcase Challenge #5: Padded Seat for a Toy Box

I am pretty slow going at this pillowcase challenge, huh? I only have 5 out of 50! The sad thing is I have quite a few adorable pillowcases...I am just slow at thinking of really good things to do with them!

First off, I found this wooden toy box at Savers this week. The hubs and I have been trying not to bring anything else big into our 2nd floor apartment since we are moving in a few months...but what's a gal to do when you strike thrift store gold for only $10? Naturally I can see why my husband may get defensive when he gets a call from me that starts with, "Hey...I'm calling to ask for permission...":) Even he thought it was a great deal...and I need him on my good side so I can have him haul this thing up 17 steps! (My daughter counts them every time we go up and down)

Oh...and when I got to the register, I found a $3 off coupon in my wallet! Boo-ya! Yup, coupons for the thrift store...that's how I roll!

Sorry, I don't have any redo pics of it. It had princess stickers on it, needed a damp rag wash, sanding, and then a coat of pink spray paint. I took it right to my parents house cause my dad has the space and sander that I needed. Then he just did it for me while saying, "I'll just sand it for you...I'll just primer it for you....I'll just get the first coat of spray on for you..." Any other dads do that?

ANYWAYS...are you still reading this? Good:)

I wanted just a light pad on top so Miss S could cush her tush while she read. You could use foam for this...but I'm cheap and I already had batting:)

1. Cut out a front, a back, and batting in your desired dimensions. Add 1/2 an inch all the way around for seam allowances. My final dimensions were 16x26...so I cut my pieces 17x27.

I just have to show you this fabric. I got it on clearance at Joann. It is a snuggle flannel and I LOVE it! Wish I had bought more than 1 yard:(

2. Here is how you want to layer it so it can be sewn together:

batting

top piece right side up

back piece right side down

My pink back piece was a jersey knit pillowcase. I wanted to make the whole thing the same fabric...but I didn't have enough...so I chose a bottom color that matched the color of the toy box.

3. Pin all the way around. I left a small gap so I would remember to leave an opening to turn it right side out. Anyone else zone out while sewing and realize you have sewn something completely shut? Nope? Just me?

4. Sew all the way around with a straight stitch and 1/2" seam. Cut your corners (not through stitching)

5. Flip right side out

6. Sew your opening closed. You could sew it by hand...but I just sewed it with a straight stitch on the machine. I just made sure to put that side toward the back of the toy box so you can't see it.

And that's it! Not a really thick pad...but just enough cushion. It also works as a nice blanket for her baby...I have found out. The jersey knit material in the back also ads as a nice griper...so the pad doesn't slide off every time she wants to get into the box.

So, go grab your favorite book and your best stuffed pal...and read a book in comfort!

And don't forget to leave a comment in my scrapbook flower clips post for a chance to win two clips! Giveaway ends tomorrow night!

Price:

batting: $.50

snuggle flannel: $50

pillowcase: $.50

Total: $1.50

Linked to:

Tatertots and Jello

Monday, June 28, 2010

Pillowcase Challenge #2: Ruffle Tote

I found this flower tote at the craft store this week on clearance for $1.97...so I knew there was something I could do with it since the flowers on it weren't really my taste.

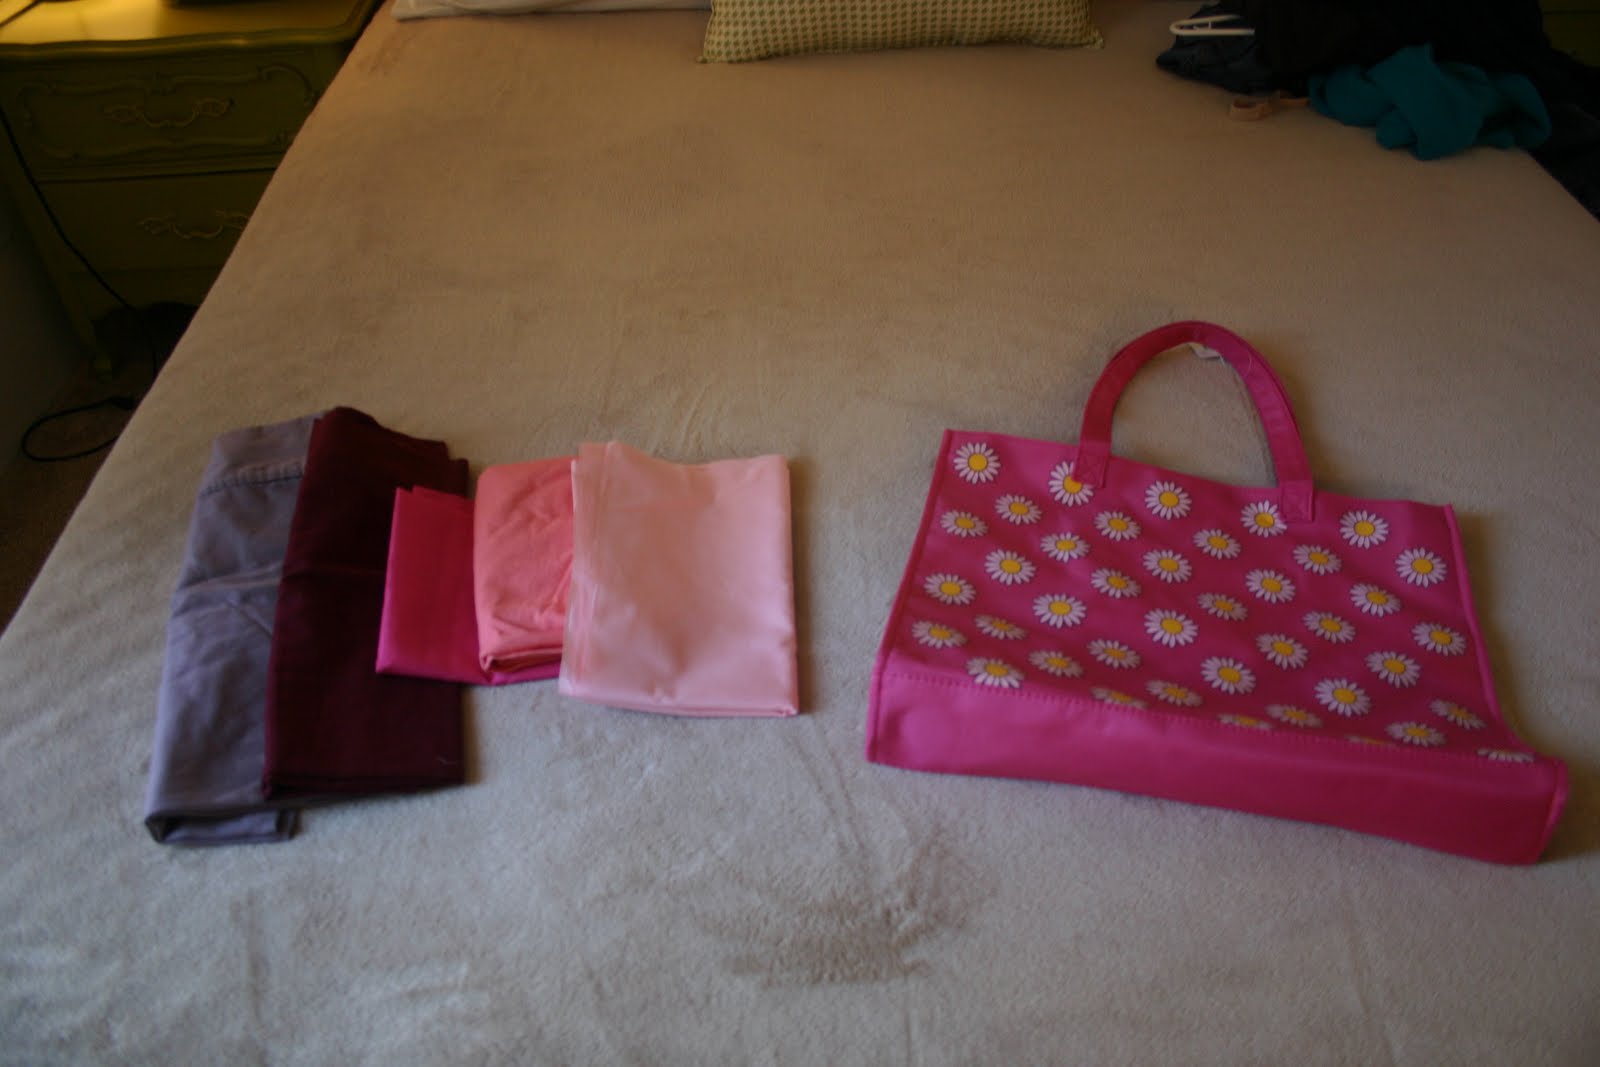
So I went through my fabric stash and found these solid colors that I thought would look good together as ruffles for the front of the bag. I am considering this #2 in my pillowcase challenge since two of the colors I used were from pillowcases:)

1. Assemble colors that you want for your ruffles. They can be solid or prints. I thought about throwing in the grayish purple in the picture below...but decided against it at the last minute.

2. Cut out strips that are double the length and double the width plus 1/2" of your finished ruffle. I wanted my ruffled 3" long when finished and so I cut them 6 1/2" long...and then only 27" inches wide because I didn't have enough of my fabric scraps for any more.

3. Fold the strip lengthwise with right sides together and sew up both short sides. I used a 1/4" seam so I wouldn't loose much on the length. Flip right side out and press the seams.

4. Fold the top of the ruffle down 1/2" and press.

5. Repeat with the rest of the ruffle strips.

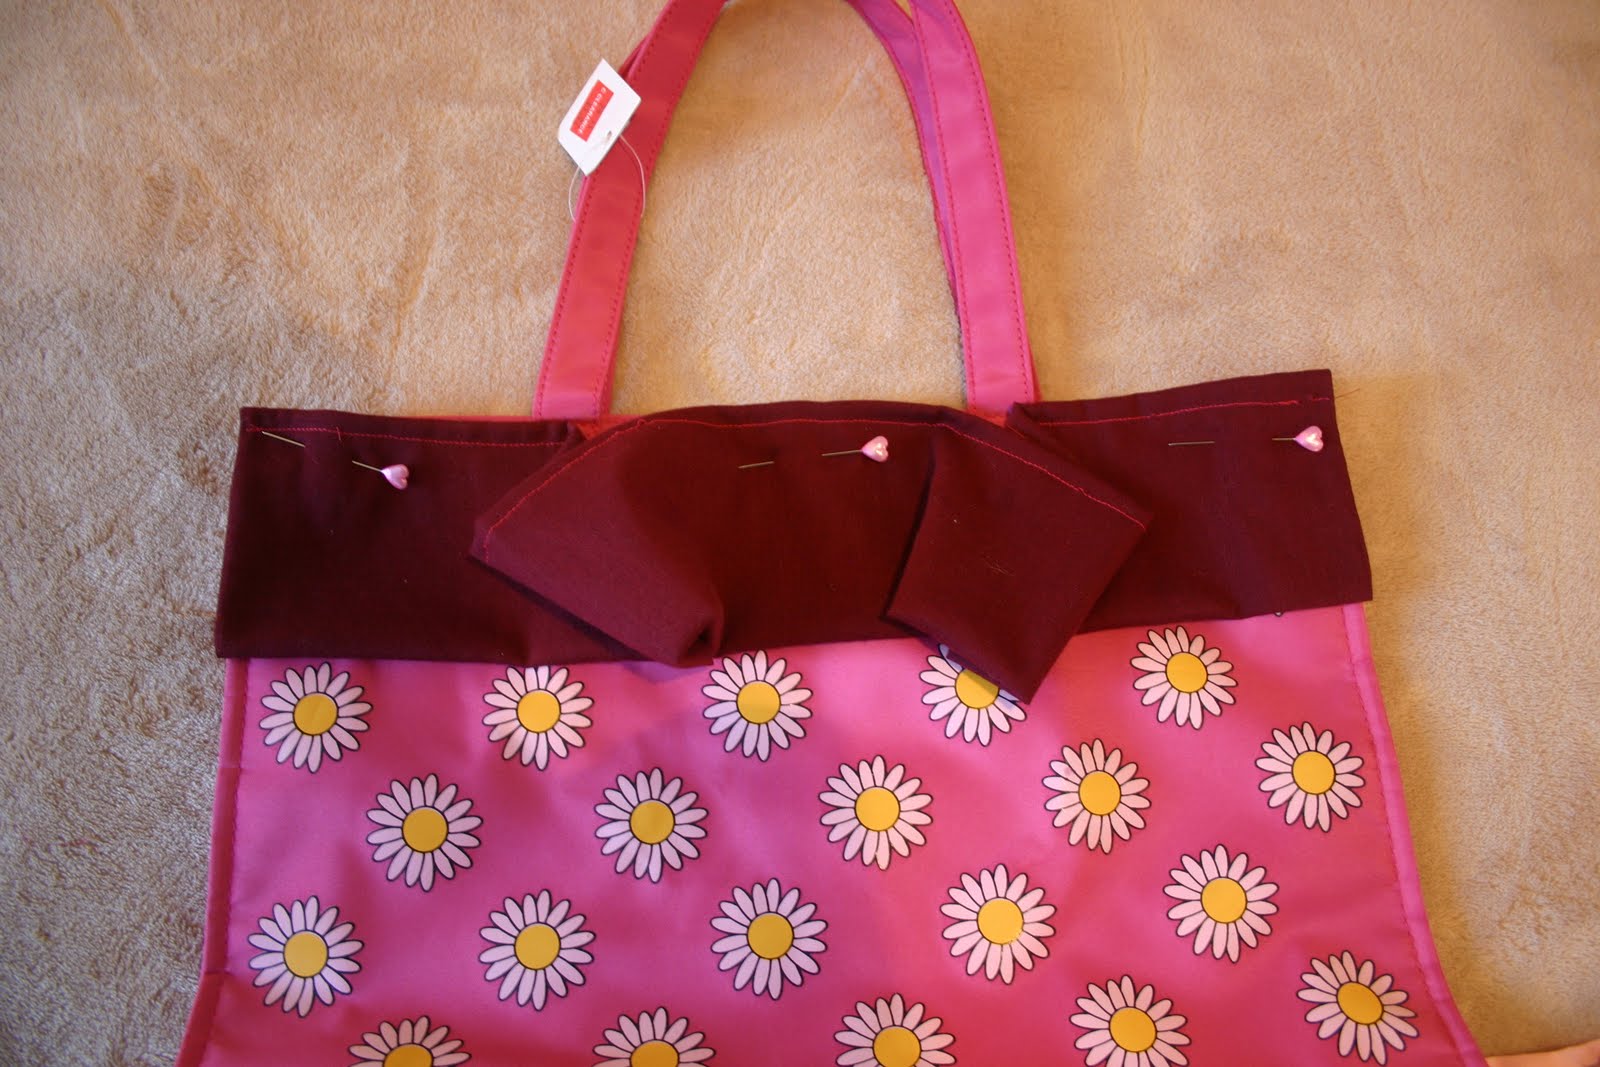
6. Pin the ends of the ruffle strip to the ends of the bag and then the middle of the strip to the middle of the bag. This will help keep the strip even when you ruffle it on the sewing machine.

7. Sew to the top of the bag. To create a ruffle, gather the material as you go in even segments.

This was a little too much for my sewing machine...so without running the risk of breaking it...I cheated and glued on the rest of the ruffles:) Sewing would be a stronger way to go and will last longer...I just didn't want to push my machine too hard.

8. Under your top ruffle, measure out equal lines for your remaining ruffles. This will make it easier to keep your ruffles straight as you add them. Add your ruffles the same way you did your top ruffle.

I think I will use this bag for our weekly trip to the library:)

Price:

tote bag: $1.97

fabric: $1.00

Total: $2.97

Tuesday, May 25, 2010

Pillowcase Challenge #1: Peasant Top

OK, so I realized lately that I may have a pillowcase obsession...and have even been asked by more than one person..."What are you going to do when your daughter doesn't fit in a pillowcase anymore?".

It's true that I love to sew with pillowcases. They are so cheap, and already sewn together...which can help in some cases:) So, I have decided to see if I can find 50 different ways to use a pillowcase! Think I can do it? I think the hardest part will be finding CUTE pillowcases.

To clarify the rules (because it's my challenge and I can make up any rules I want), I may use scraps from the same pillowcase...I mean...why waste?

So to kick off my challenge (my husband laughs when I make up challenges for myself)...here is my first project:

Pillowcase Challenge #1: Peasant Top

This is actually made from a pillow sham which was a little harder because the back is in two pieces and not one large piece.

I found this idea and tutorial here on Prudent Baby.

Mine is just a tad different than the one on their website. I made my bottom ruffle a little too short so it kept flipping up, so I sewed a top stitch along the elastic to keep the flap in place...and also added an extra ruffle on the bottom since it was a little too short for my girlie.

I really do love that website! They make their tutorials SO easy to understand...and that's great for a beginning sewer like me:)

Price:

pillow sham: $.50

elastic: $.10

TOTAL: $.60

LinkWithin

Related Posts with Thumbnails