I've shown how to make an applique before when posting about my daughter's Cinderella silhouette shirt . Here is another basic "how to" lesson on making an easy applique...because they are just so much fun:)
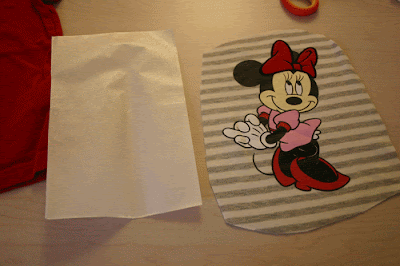
I found this two pack of onesies at Walmart a few weeks ago for $1 (yes, $1 for the pair!) and decided they would make really cute appliques on bigger shirts for my daughter. She is in the Mickey Mouse Clubhouse phase right now and loves everything with Mickey and friends on it.
I also used a plain t-shirt I found at the thrift store for $.50 and some super hold Heat N Bond (in the red package).
1. Start by cutting out the image you want to turn into the applique. I cut a large circle around it so I can cut in closer later. Also, cut out a piece of Heat N Bond the same size as your fabric.
2. Iron the Heat N Bond to the wrong side of your image per the package instructions.
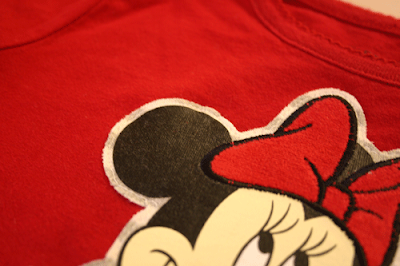
3. Now go back and cut out the image with more detail, peel off the paper backing to the Heat N Bond, and iron it to the front of your shirt.
4. The next step is to sew around the edges of your new applique. If you don't do this...the Heat N Bond will eventually peel off your shirt. I like to sew around with just a straight stitch so that the edges curl a bit after washing...but if that's not your style, then sew around with a tight zig zag stitch.
Here is a view of the inside of the shirt:
That's it! Easy, right? Put the new shirt on your little cutie and have them love you forever:) My daughter had to tell everyone at the grocery store that she was wearing her new Minnie Mouse shirt:)
I'm linked to:


What a sweetheart!!! This turned out so cute!!
ReplyDeleteHi Melissa and thank you sp much for your tutorial :)
ReplyDeleteDo you use a needle for jersey?
ciao ciao
Chiara